Creating a slideshow using UIImageView on IOS with Swift
Creating a slideshow may sound complex, in fact it is quite simple but powerful thanks to the Swift Foundation library that contains a Timer library that allows us to schedule a task to run every (X) amount of seconds. First make sure you have a Xcode project for IOS open, and navigate to your storyboard so that we can create a UIImageView.
Now lets add constraints so that everything looks nice when we run the app.
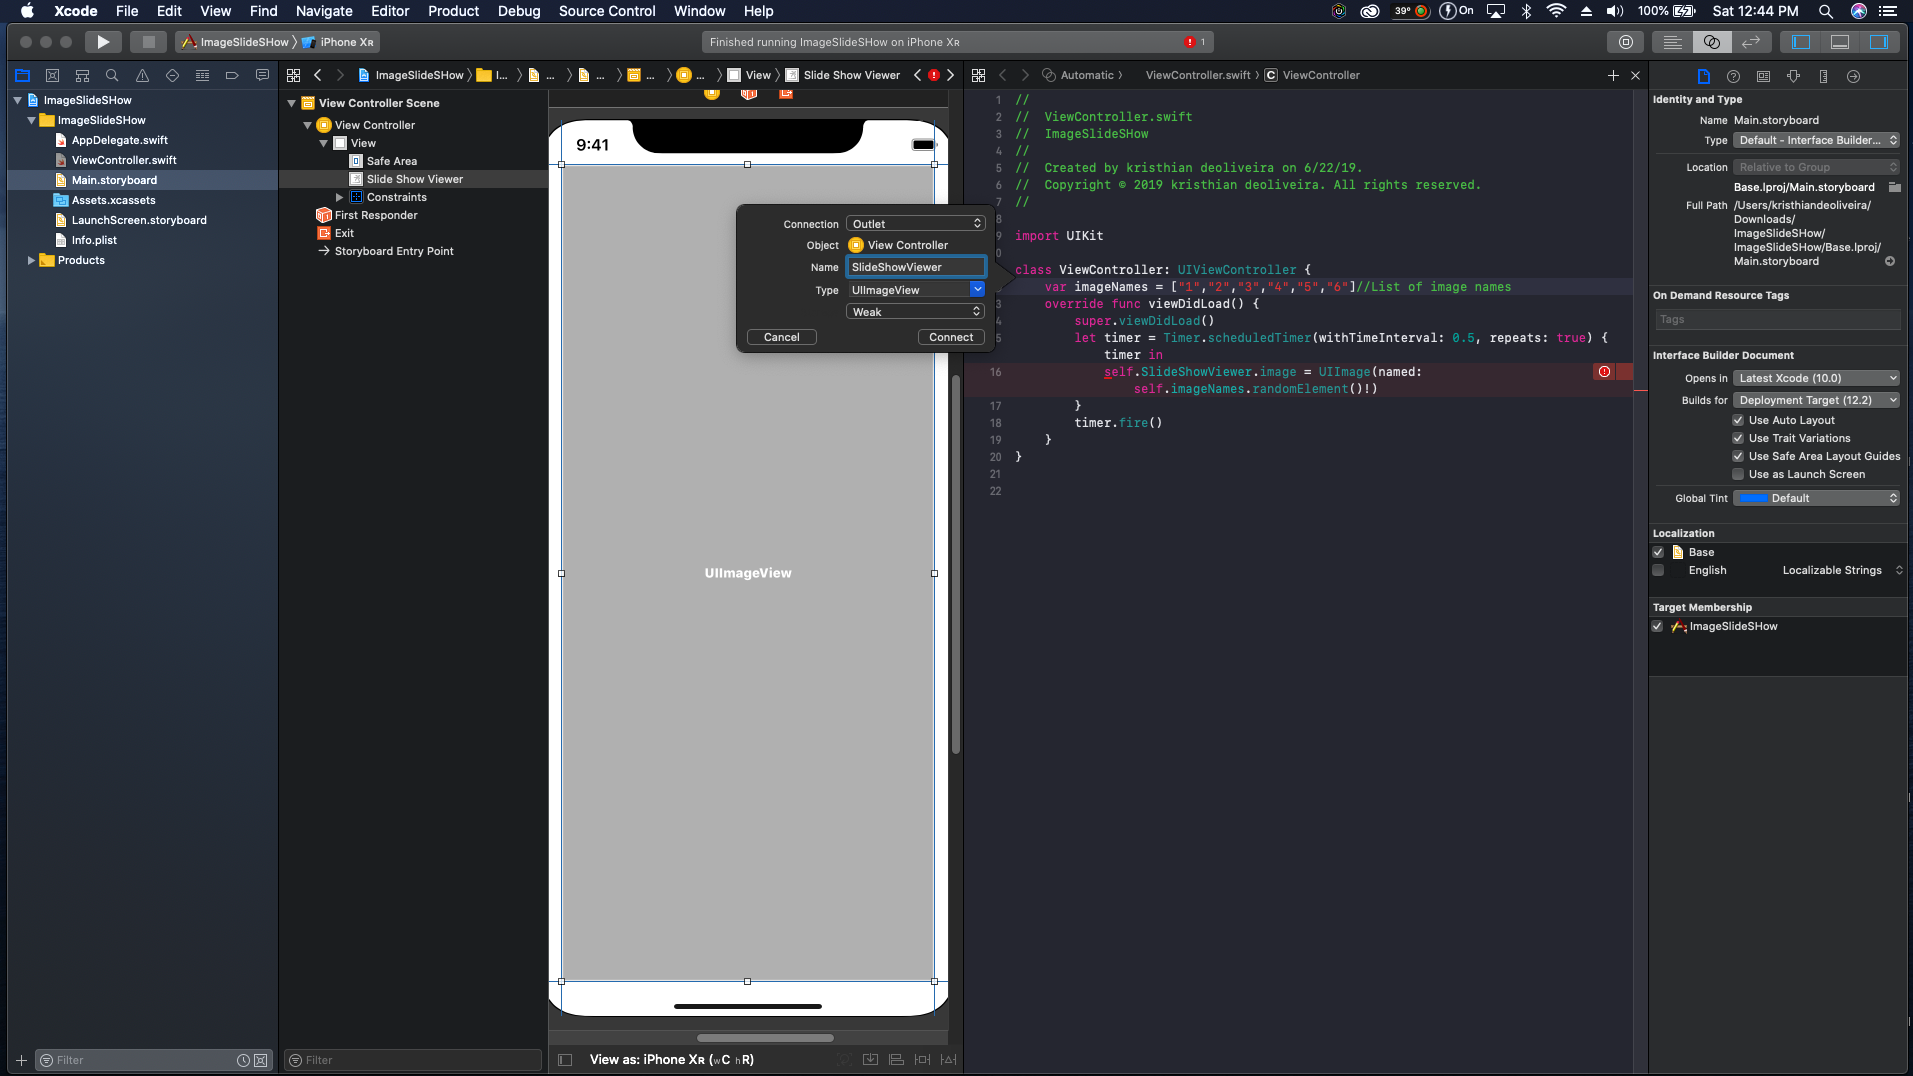
Now that we have added our constraints lets attach the UIImageView to our code.
Now navigate to your ViewController so that we can start coding our Slideshow. In the code below is a Timer that will repeat every half a second. Place the code bellow in your ViewDidLoad method to start the slideshow on startup, or place it in a button so that when it is pressed the timer will fire.
Where it says “DO STUFF“ is where we will place our slideshow logic to be called every half a second. Also note that after the time interval of the timer we have a repeat parameter that is a boolean set to true which will repeat the timer until stopped. Before adding our slideshow logic we need an array of image names as shown below.
Each item inside the array above is a image name, I made the names simple so that it is easy to understand. Now lets show you the line of code that does all the magic. YES a line of code, that’s how powerful the Swift language is.
Inside the timer is the line of code that does the slideshow magic. First we set the image to our slideshow UIImageView, than where we have to set the name we call the array of image names but with one difference. Instead of using a loop to go through the array we call .randomElement() which pulls a random image every time the timer is fired. Note that timer.fire() starts the timer, and timer.invalidate() stops the timer. That concludes our tutorial. I have seen this question being asked plenty of times on StackOverflow, and decided to create this tutorial. At first I thought it was complicated until after hours of figuring out how to create the logic I came up with this. Below is the link to the Github repo with the project of this tutorial.


